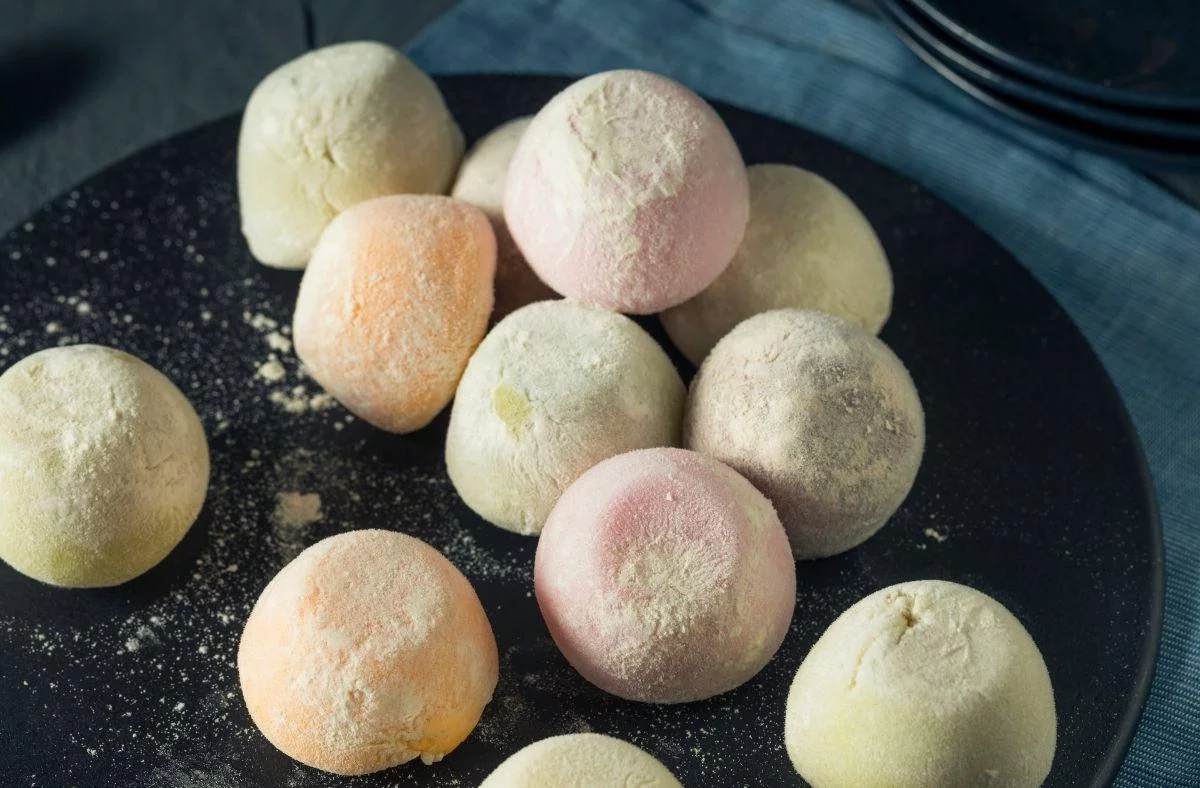
Are you searching for the best vegan mochi recipe that’s as delicious as traditional mochi? If YES, this recipe is exactly what you need! With a chewy texture and a sweet flavor, this easy homemade vegan mochi will become your go-to dessert.
Customizable and Dairy-Free! You can easily modify this recipe to create strawberry mochi, mochi ice cream, or mochi balls. Plus, it’s completely dairy-free and gluten-free, perfect for a variety of diets!
Why You’ll Love This Vegan Mochi Recipe
Making vegan mochi at home is simpler than you think! While it might look fancy, our step-by-step guide will make you a mochi master in no time. You’ll be amazed by how quickly you’ll want to make these again and again.
One key aspect of this recipe is the texture of the mochi batter. We’ve perfected the ratio of ingredients to create the sticky, chewy, and soft texture that rivals popular mochi brands like Whole Foods and Trader Joe’s. Pair this with a matcha latte for the ultimate experience!

What is Mochi?
Japanese sweet made of short-grain glutinous japonica Rice is also known as mochi. The rice is ground into a porridge, then shaped. This traditional Japanese ceremonial dish requires a lot more work (a lot of pounding) to prepare. We use already-ground rice to make this dish and then heat it up in the microwave to avoid straining our muscles. If you’re visiting Japan or “Japanese” cities (such as Los Angeles or Manhattan), traditional mochi is available. It’s soft and fluffy inside. It is very low in sugar, gluten-free, and dairy-free.
What You’ll Need
- Mochiko/Shiratamako. This is a different flour kind compared to typical rice flour. You may find this variety in Japanese grocery shops or get it from an online supplier on Amazon.
- You have to use vegetarian/vegan sugar for making this recipe.
- Cornstarch
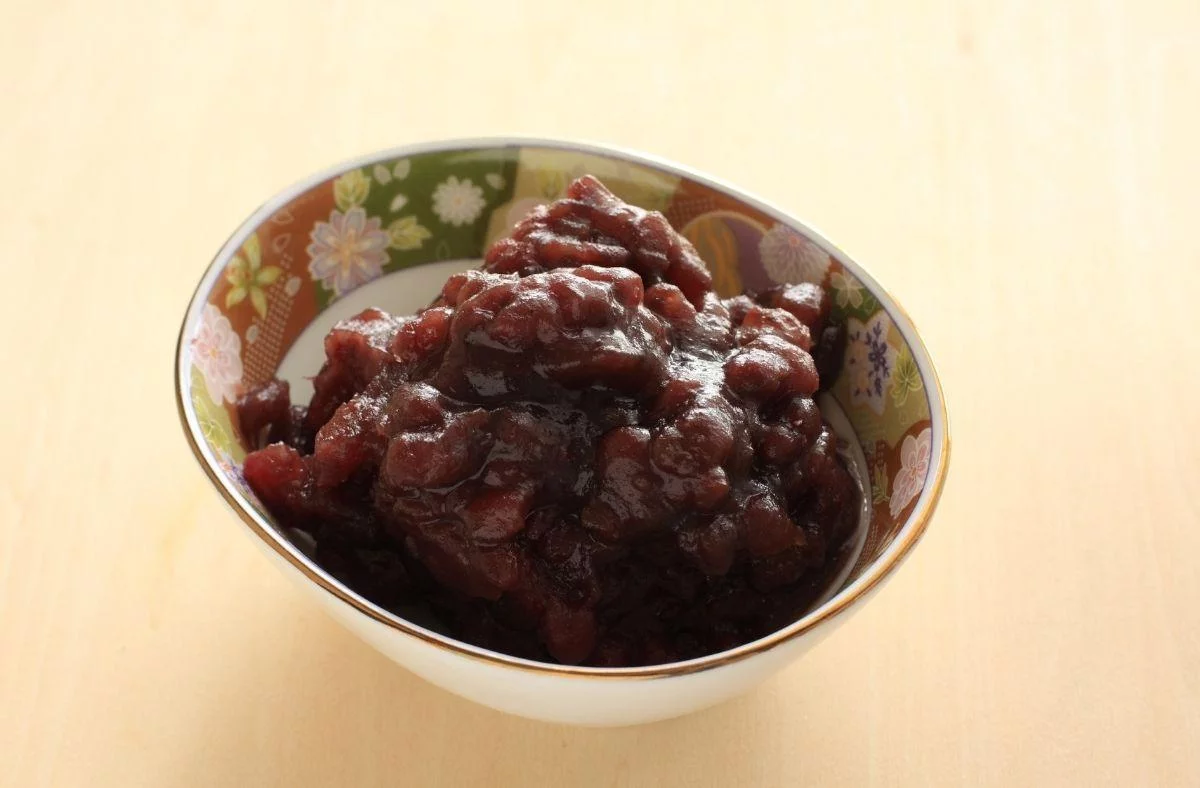
- Red beans/Azuki beans. You have to prepare a mixture of red beans and sugar to make your sweet azuki paste. Red beans are found in most grocery and health food stores, both offline and online.
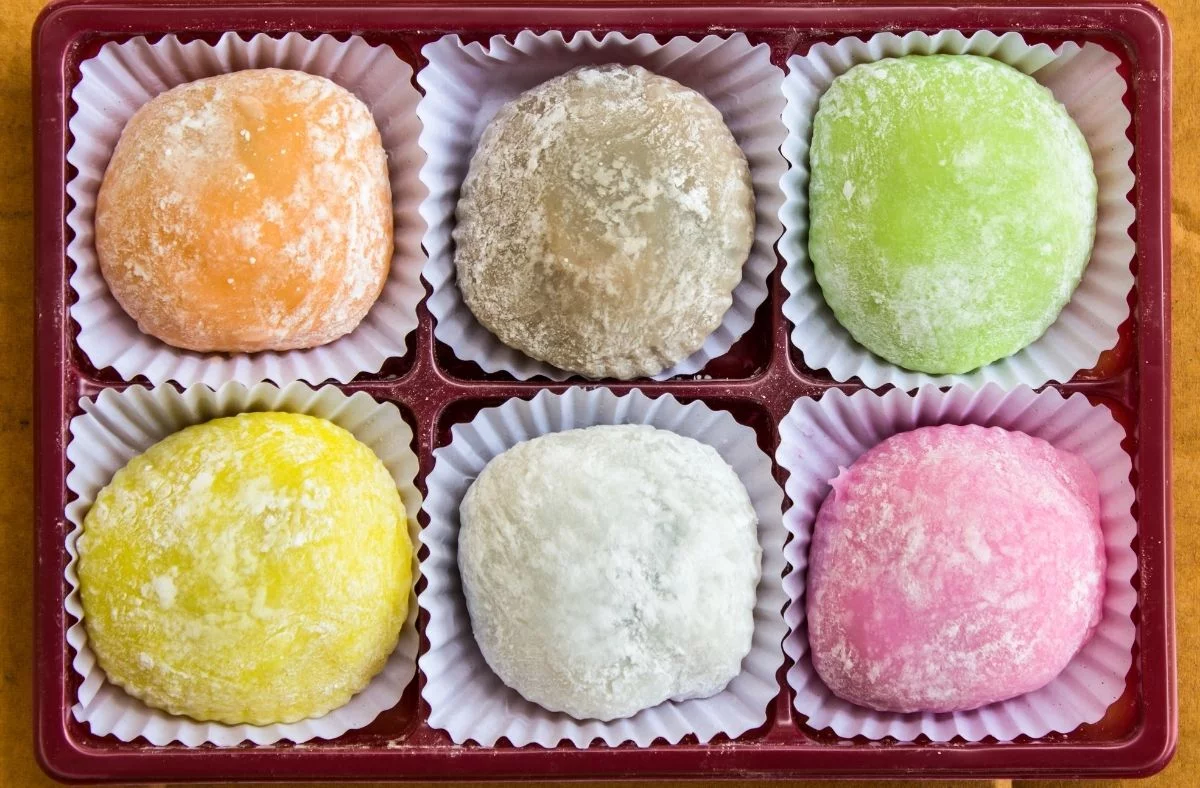
You may also add extra food coloring to enhance the appearance of mochi balls with a range of colors.
Making the Red Bean Paste

Preparing a vegan red bean paste is a piece of cake: all you need to gather is red beans, sugar and some water.
Place the red beans and the water in a saucepan and bring to a boil for 5 minutes. Remove the water. Add more water and bring to boil for a second time. Cover with the lid and let simmer for 60 minutes or so (the beans have to be easily mashable). Remove the water and stir in the sugar. Keep stirring until you achieve the right texture. Tip: It is suggested that you prepare your azuki paste in advance.
Making Homemade Vegan Mochi

- Combine the mochiko flour, sugar, and water in a microwavable bowl. It is vital to stir everything well until it is totally dissolved. You may insert some food coloring into the mix to make these look more appealing–I personally use red coloring in these.
- Seal the bowl with the plastic film (loosely). Heat at full power for a couple of minutes. Remove from the microwave and combine everything well with a wet spatula. Cover again and microwave for another 30 seconds or until the dough becomes slightly transparent.
- Place the dough onto a parchment paper sheet dusted with cornstarch. Dust more cornstarch evenly over the dough’s surface.
- Split the dough into 3-4 even pieces and flatten each piece in a rounded patty-like shape. You may use your hands to stretch the dough.
- Take out the red bean paste and put it in the middle of the mochi envelope.
- Fork the 4 angles of the mochi wrapper and press the rest of the sides together. Serve.
Tips & Tricks to Make the Best Vegan Mochi
- You should make the Azuki red bean paste in advance and chill it in the fridge before preparing your mochi.
- Use Shiratamako or Mochiko rice flour for making this recipe. If you only have the typical glutinous rice flour, making mango mochi is best.
- Make sure you combine all these ingredients well and that everything is totally dissolved without any bits or lumps, or else your dough will be grainy.
- Due to the fact that the dough is quite sticky upon touch, you’ll have to use plenty of cornstarch on its surface to stop it from sticking. However, ensure that the cornstarch layer is thin and even, and avoid overdosing on the mochi with cornstarch.
FAQs
Vegan Mochi Taste: What Does It Taste Like?
Vegan mochi has a unique texture that’s often described as chewy, sticky, and satisfying. It has a subtle sweetness and a rich consistency that makes it incredibly delicious—you’ll likely find it irresistible!
Can I Make Vegan Ice Cream Mochi with This Recipe?
Yes, you can! Simply replace the red bean paste with a vegan ice cream filling of your choice for a delightful frozen treat.
How Should I Store Vegan Mochi, and How Long Does It Last?
Store your vegan mochi in an airtight container in the refrigerator for up to 2 days. However, for the best texture and taste, it’s recommended to enjoy them on the same day they’re made.
If you’ve tried this recipe, share your results and feedback in the comments section below!
Vegan Mochi Recipe Full Guide
Are you longing for a super Vegan Mochi that is just as tasty as regular mochi? If YES, then this vegan mochi recipe is what you’ve been longing for–this is probably the top, almost chewy, and deliciously sweet mochi recipe you’ve ever come across, made from your hands.
[pinterest-image message=”Perfect Vegan Mochi Recipe” image=”https://veganiac.com/wp-content/uploads/2021/03/Perfect-Vegan-Mochi-Recipe.jpg”]
- Preparation Time: 10 minutes
- Cooking time: 1 hour
- Total Time: 1 hour & 10 minutes
- Servings: 4 mochi balls
- Calories: 148
Ingredients
For The Mochi Dough
- 6 tbsp Mochiko or Shiratamako rice flour
- 2 tbsp cane or other vegan sugar types
- 6 tbsp water
- 2 drops of food coloring e.g. red (optional)
- ¼ cup of cornstarch (for dusting)
Azuki Red Bean Paste
- -⅓ cup red beans, rinsed
- – ⅓ cup sugar cane
- -Water
Directions
Make the Azuki Red Bean Paste
- Place the rinsed red beans and water into a saucepan over medium to high heat.
- Bring to a boil and let boil for 5 minutes.
- Remove the water, taking the red beans out of the pan.
- Place more water and bring to boil for another time. Cover with a lid. Lower the heat and allow to simmer for 1 hour or until you can mash the beans easily with your hands.
Preparing the Vegan Mochi Dough
- Combine the mochiko, water, sugar, and optional food coloring in a microwavable bowl. Make sure that you whisk everything thoroughly until totally dissolved.
- Seal the bowl with cling film or cover with a kitchen towel (loosely).
- Place in the microwave at the highest setting for a couple of minutes. Remove it and combine it with a wet spatula. Cover and heat again for half a minute or until the dough becomes transparent.
- Place the prepared mochi dough onto a parchment paper layer dusted with cornstarch. Dust a light layer of cornstarch onto the dough.
- Split your dough into 3 to 4 equal parts and flatten each into a round shape. You may use your hands to stretch the dough out. If it’s too hot to handle, let it cool down for a few minutes.
Vegan Mochi Assembling
- Spoon out 1 tbsp of the red bean paste and transfer it to the middle of the mochi wrapper.
- Fork the 4 angles of the mochi wrapper and press the rest of the sides together.
- Dust the butt of the mochi with cornstarch and take a brush to brush away any excess cornstarch.
- Repeat this procedure for making the remaining dough and filling. Allow to set and serve at room temperature or keep in the fridge for up to 2 days.


