


Craving the latest internet sensation in frozen desserts? Get ready to dive into the world of vibrant green goodness taking over your feed! We’re talking about vegan pistachio ice cream, and the best part is, you might not even need special equipment to make it. Discover how to create this creamy, nutty delight with or without an ice cream maker, and even explore options that go beyond the traditional coconut milk base.
Ready to whip up your own batch of this trending treat? Whether you’re searching for a viral vegan pistachio ice cream recipe without coconut milk or curious about making it in your Ninja Creami, we’ve got you covered. This article will guide you through a delicious viral vegan pistachio ice cream recipe with no eggs, explore the secrets to a smooth vegan pistachio gelato recipe. Get ready to unlock the secrets to homemade perfection, even if you’re looking for a vegan pistachio ice cream with no coconut option!
- Preparation Time: 20 minutes (plus overnight refrigeration for coconut milk)
- Cooking Time: 5-10 minutes (for heating sugar mixture)
- Chilling Time: Minimum 4 hours (preferably overnight)
- Churning Time (Ice Cream Maker Method): 20-30 minutes
- Freezing Time (No-Churn Method): Minimum 6 hours
- Total Time (Ice Cream Maker): Approximately 24 hours (including chilling)
- Total Time (No-Churn): Approximately 24-30 hours (including chilling and freezing)
- Serving Size: Approximately 6-8 servings
- Estimated Cost (US Market): Approximately $10 – $15 (depending on the cost of pistachios)
Ingredients
- 1 cup raw pistachios, shelled and unsalted
- 1 (13.5 oz) can full-fat coconut milk, refrigerated overnight (for both methods)
- ½ cup unsweetened plant-based milk (almond, soy, or oat work well) (for both methods)
- ¾ cup granulated sugar (adjust to taste) (for both methods)
- ¼ teaspoon salt (for both methods)
- 1 teaspoon vanilla extract (for both methods)
- ½ teaspoon almond extract (optional, enhances pistachio flavor) (for both methods)
- 2-3 drops green food coloring (optional, for a more vibrant color) (for both methods)
Creamy Vegan Pistachio Ice Cream (Two Ways!)
This recipe offers two delicious methods for making viral vegan pistachio ice cream: one using an ice cream maker for a classic churned texture, and another no-churn method for those without specialized equipment. Both versions deliver a rich, nutty, and satisfying frozen treat.
Method 1. Using an Ice Cream Maker
Step 1: Prepare the Pistachio Base
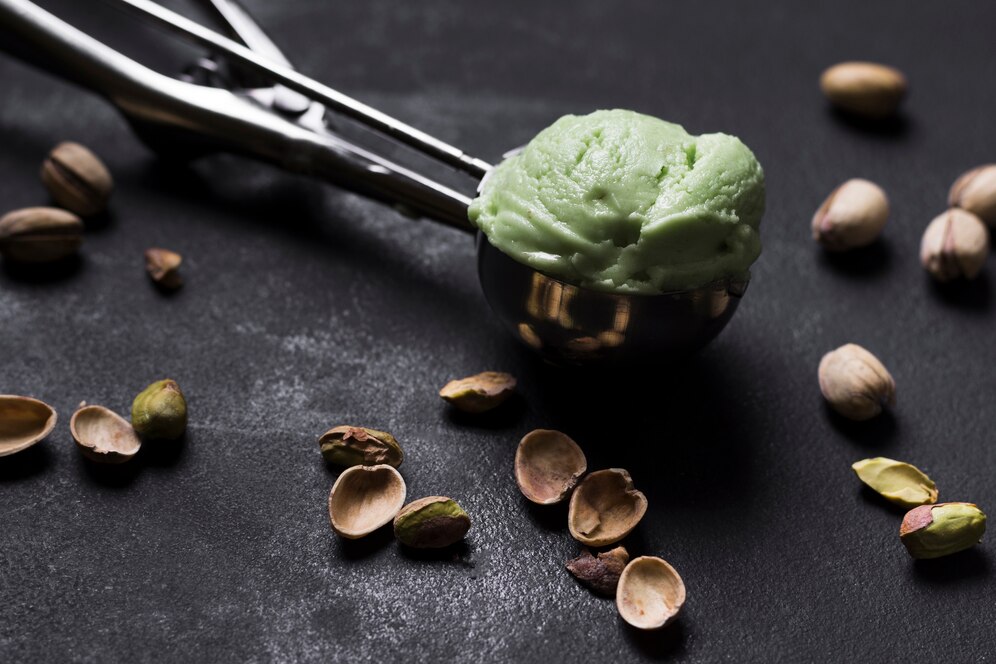
Place the raw pistachios in a food processor or high-powered blender. Process until they are finely ground into a coarse meal. Be careful not to over-process into a butter, unless that’s the consistency you prefer – a slightly granular texture adds to the ice cream.
Step 2: Combine Wet Ingredients
In a medium saucepan, whisk together the thick solid part of the refrigerated full-fat coconut milk (reserve the watery liquid for another use), plant-based milk, granulated sugar, and salt. Heat the mixture over medium heat, stirring constantly until the sugar is completely dissolved. Do not boil.
Step 3: Infuse with Pistachio Flavor
Add the ground pistachios to the warm milk mixture. Stir well to combine. Remove the saucepan from the heat and stir in the vanilla extract and almond extract (if using).
Step 4: Chill the Mixture
Pour the pistachio mixture into a bowl and cover it with plastic wrap, pressing the wrap directly onto the surface of the mixture to prevent a skin from forming. Refrigerate for at least 4 hours, or preferably overnight, until the mixture is thoroughly chilled. This step is crucial for achieving a smooth and creamy ice cream texture.
Step 5: Churn the Ice Cream
Once the mixture is completely chilled, pour it into your ice cream maker. Churn according to the manufacturer’s instructions, usually for about 20-30 minutes, or until the mixture has thickened to the consistency of soft-serve ice cream. If desired, add a few drops of green food coloring during the last few minutes of churning for a more vibrant green hue.
Step 6: Freeze for Firming
Transfer the churned ice cream to an airtight, freezer-safe container. Smooth the top and cover tightly. Freeze for at least 2-3 hours, or until firm enough to scoop.
Method 2. No-Churn Vegan Pistachio Ice Cream
Step 1: Prepare the Pistachio Base
Place the raw pistachios in a food processor or high-powered blender. Process until they are finely ground into a coarse meal.
Step 2: Combine Wet Ingredients
In a large bowl, whisk together the thick solid part of the refrigerated full-fat coconut milk, plant-based milk, granulated sugar, and salt until the sugar is mostly dissolved. It’s okay if it’s not perfectly smooth at this stage.
Step 3: Infuse with Pistachio Flavor
Add the ground pistachios, vanilla extract, and almond extract (if using) to the coconut milk mixture. Stir well to thoroughly combine. If desired, stir in a few drops of green food coloring.
Step 4: Chill the Mixture
Cover the bowl with plastic wrap and refrigerate for at least 4 hours, or preferably overnight, until the mixture is thoroughly chilled. This chilling step is essential for the no-churn method to achieve a better texture.
Step 5: Whip the Mixture (Optional but Recommended)
For a smoother and creamier texture, pour the chilled mixture into a stand mixer fitted with the whisk attachment or use a hand mixer. Whip on medium-high speed for 3-5 minutes, or until the mixture has lightened in color and increased slightly in volume. This step incorporates air, which helps prevent the ice cream from becoming too icy.
Step 6: Freeze for Firming
Pour the whipped (or simply chilled) pistachio mixture into an airtight, freezer-safe container. Smooth the top and cover tightly. Freeze for at least 6 hours, or preferably overnight, until completely firm.
Step 7: Serve and Enjoy!
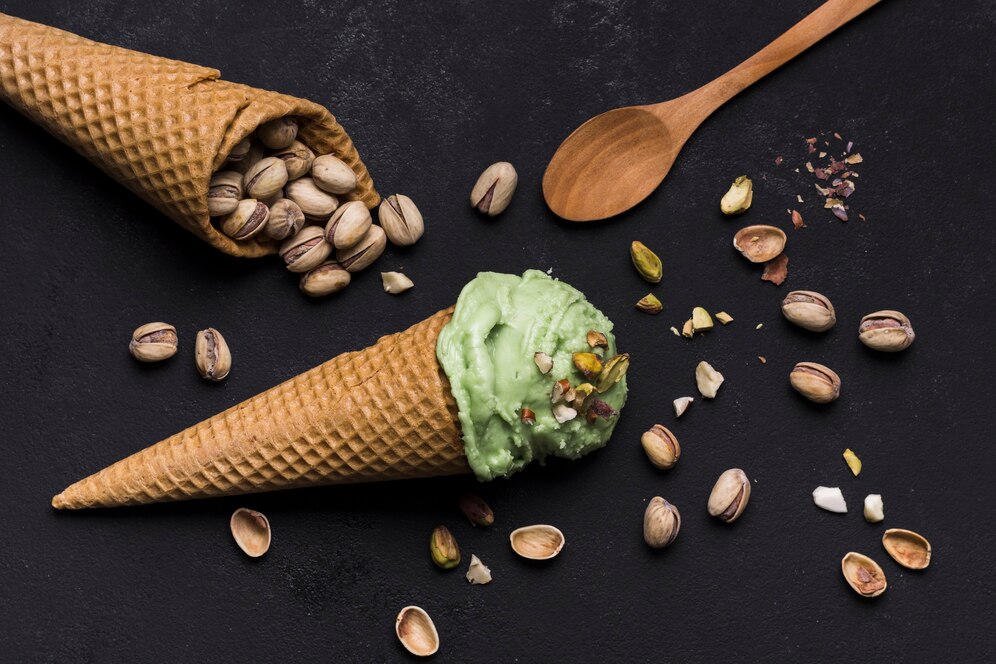
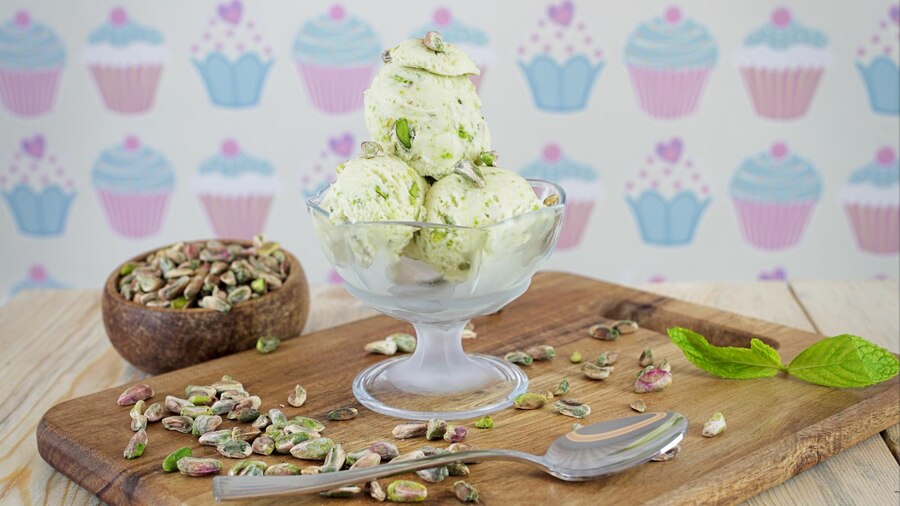
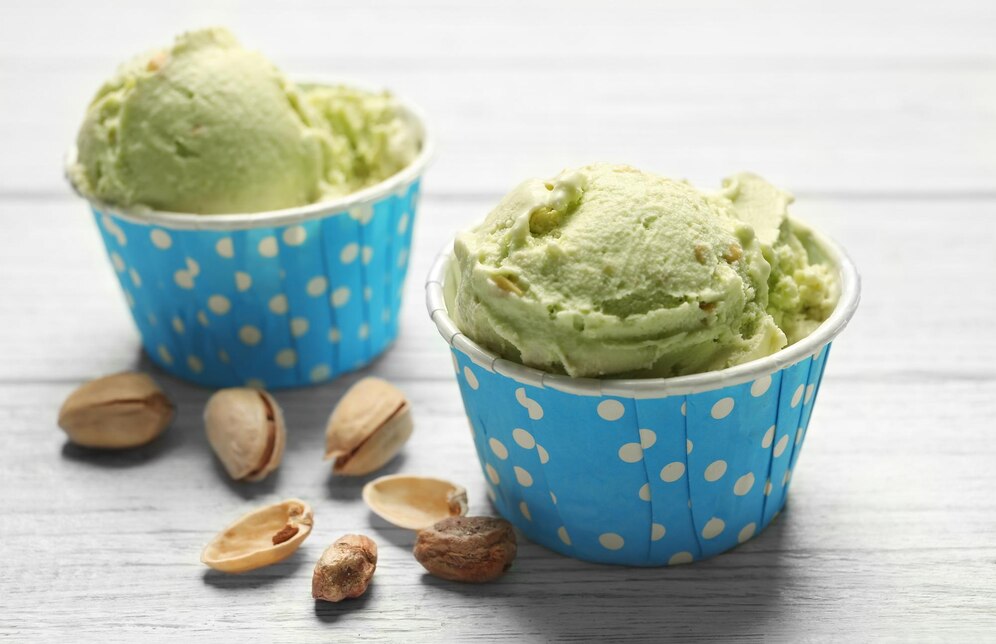
Let the ice cream sit at room temperature for 5-10 minutes before scooping. Enjoy your homemade vegan pistachio ice cream! Garnish with extra chopped pistachios if desired.
Storing Leftovers
To ensure your vegan pistachio ice cream retains its delicious flavor and creamy texture, proper storage is key:
- Airtight Container: Transfer any leftover ice cream to an airtight, freezer-safe container. This is crucial for preventing freezer burn, which occurs when the ice cream’s surface dehydrates and forms ice crystals.
- Minimize Air Exposure: For extra protection against freezer burn, press a piece of plastic wrap or parchment paper directly onto the surface of the ice cream before sealing the lid of the container. This minimizes the amount of air in contact with the ice cream.
- Store in the Back of the Freezer: Place the container at the back of your freezer, where the temperature is typically the most stable. Avoid storing it in the freezer door, as the temperature fluctuates more when the door is opened and closed.
How Long It Will Last
Homemade vegan ice cream, while delicious, doesn’t contain the same stabilizers and preservatives found in commercially produced ice cream. Therefore, its shelf life in the freezer is generally shorter.
For the best taste and texture, it’s recommended to consume your homemade vegan pistachio ice cream within 1-2 weeks. While it might still be safe to eat, after about 1 month, the ice cream may start to develop a noticeable icy texture and lose some of its vibrant flavor.
Other Methods for Best Taste
- Avoid Repeated Thawing and Refreezing: Each time ice cream thaws and is refrozen, larger ice crystals form, leading to a grainy and less appealing texture. Try to take out only the amount you intend to eat at one time.
- Use a Shallow Container: A shallower container allows the ice cream to freeze more quickly, which can help minimize the formation of large ice crystals.
- Pack it Down: When transferring the ice cream to the storage container, gently pack it down to remove any air pockets. Trapped air can contribute to ice crystal formation.
- Label and Date: Label your container with the date you made the ice cream. This will help you keep track of how long it has been stored.
- Let it Soften Slightly: When ready to serve, let the ice cream sit at room temperature for 5-10 minutes to soften slightly, making it easier to scoop and enjoy its creamy texture. Avoid letting it melt completely.
- Clean Scooping: Use a clean ice cream scoop each time you serve to prevent introducing any contaminants or unwanted ice crystals into the remaining ice cream. You can even run the scoop under warm water for easier scooping.
Nutrition Facts (Estimated per serving)
Please note that these are estimated values and can vary significantly based on the specific brands and quantities of ingredients used, as well as whether you used the ice cream maker or no-churn method. This table provides a general overview of the nutritional content per serving (approximately 1/2 cup).
| Nutrient | Amount per Serving (Estimated) | % Daily Value* |
| Calories | 250 – 380 kcal | – |
| Total Fat | 18 – 28 g | 23 – 36% |
| Saturated Fat | 10 – 17 g | 50 – 85% |
| Trans Fat | 0 g | 0% |
| Cholesterol | 0 mg | 0% |
| Sodium | 20 – 60 mg | 1 – 3% |
| Total Carbohydrate | 20 – 35 g | 7 – 13% |
| Dietary Fiber | 2 – 4 g | 7 – 14% |
| Total Sugars | 15 – 25 g | – |
| Added Sugars | 15 – 25 g | 30 – 50% |
| Protein | 4 – 7 g | 8 – 14% |
| Vitamin D | 0 IU | 0% |
| Calcium | 20 – 60 mg | 2 – 6% |
| Iron | 0.5 – 1.2 mg | 3 – 7% |
| Potassium | 100 – 250 mg | 2 – 5% |
The % Daily Value (DV) tells you how much a nutrient in a serving of food contributes to a daily diet. 2,000 calories 1 a day is used for general nutrition advice.
Important Considerations
- Serving Size: This table reflects an estimated serving size of approximately 1/2 cup. Actual serving sizes may vary.
- Ingredient Variations: The nutritional content is highly dependent on the specific type and brand of coconut milk (fat content significantly impacts calories and fat), plant-based milk, and sugar used. Adjusting the amount of sugar will directly affect the calorie and added sugar content.
- Pistachio Content: The amount of pistachios used will influence the fat, fiber, and protein content.
- No-Churn Method: The no-churn method, particularly if it involves a more vigorous whipping of the coconut cream, might slightly alter the texture but is unlikely to drastically change the overall nutritional profile compared to the ice cream maker method using the same ingredients.
- Optional Ingredients: The addition of extracts and food coloring in the recipe has minimal impact on the overall nutritional values.
This nutrition information is intended as a general guide. For more precise nutritional information, it is recommended to use online nutrition calculators and input the exact ingredients and quantities you used in your specific recipe.

Other Dietary Information
This Vegan Pistachio Ice Cream recipe is inherently suitable for the following dietary needs:
Vegan: This recipe is entirely plant-based and does not contain any animal products or byproducts, making it perfect for individuals following a vegan lifestyle.
Dairy-Free: As it utilizes coconut milk and plant-based milk instead of dairy cream and milk, this ice cream is an excellent option for those who are lactose intolerant or avoiding dairy for other reasons.
Gluten-Free: This recipe, as written, is naturally gluten-free. All the listed ingredients are typically gluten-free. However, it’s always recommended to double-check the labels of your specific ingredients (especially plant-based milk) to ensure they are certified gluten-free and haven’t been processed in facilities that also handle gluten-containing products, if cross-contamination is a concern.
Keto: This recipe is not suitable for a ketogenic diet due to its high sugar and carbohydrate content from the granulated sugar and the natural sugars in the coconut and plant-based milk. A typical ketogenic diet requires a very low carbohydrate intake. Modifications would be necessary to make a keto-friendly version, such as using sugar substitutes and adjusting the ratios of ingredients to be higher in fat and significantly lower in carbohydrates.
What’s the History of Vegan Pistachio Ice Cream?
Vegan pistachio ice cream combines two fascinating histories: pistachio ice cream and vegan ice cream. Pistachio ice cream traces its origins back to ancient Persia, where pistachios were ground into powder and mixed with milk, sugar, and other ingredients to create a frozen dessert. It was a delicacy enjoyed by royalty and spread to Europe and America through trade routes. Italian gelato artisans perfected pistachio gelato, and it became a popular flavor worldwide.
The concept of dairy-free ice cream dates back centuries, with recipes appearing in 16th-century Italian cookbooks. In the U.S., vegan ice cream gained traction in the 19th century, evolving with innovations like soy-based ice cream in the early 20th century. Brands like Tofutti and Rice Dream emerged in the 1980s, making vegan ice cream more accessible.
Final Thoughts
Wrapping up, this vegan pistachio ice cream recipe offers a delightful way to enjoy a creamy and flavorful frozen treat, whether you have an ice cream maker or not. The vibrant green hue and nutty taste make it a standout dessert perfect for any occasion. Don’t hesitate to experiment with the no-churn method for its simplicity or the ice cream maker for a more traditional texture. Ultimately, this homemade vegan pistachio ice cream is a satisfying and accessible way to indulge in a viral-worthy dessert right in your own kitchen.


